In this blog post, I’ll walk you through the process of setting up Metasploitable 2 in my Proxmox homelab.
Metasploitable 2 is an intentionally vulnerable virtual machine designed for learning ethical hacking, vulnerability scanning, and penetration testing. It’s an excellent tool for practicing how to identify and exploit security flaws in a controlled and safe environment. In my homelab, I’ve set up a dedicated VLAN 10 for vulnerable machines, where I can run scans and attacks without affecting other parts of my network.
Step-by-Step Guide to Installing Metasploitable 2
Install the Unzip Tool
First, ensure that your system has the unzip tool installed. If it’s not already installed, run the following command:
apt install unzip
Navigate to the /tmp Directory
Change to the /tmp directory to create a working environment:
cd /tmp
Create a Directory and Download Metasploitable 2
Create a directory for Metasploitable 2 and navigate into it:
mkdir metasploitable2 && cd metasploitable2
Next, download the Metasploitable 2 VM file using wget:
wget https://download.vulnhub.com/metasploitable/metasploitable-linux-2.0.0.zip
Unzip the Archive
Unzip the downloaded file:
unzip metasploitable-linux-2.0.0.zip
Navigate to the Extracted Directory
After unzipping the archive, navigate into the directory that was extracted:
cd Metasploitable2-Linux
Create a New VM in Proxmox
Now, let’s create a new VM in Proxmox and assign it to VLAN 10, which is isolated via pfSense:
qm create 1000 –name Metasploitable2 –net0 model=virtio,bridge=vmbr1,firewall=0,tag=10 –memory 1024 –ostype l24 –storage local-lvm
Explanation:
1000 is the VM ID.
net0 sets the network adapter with virtio driver and assigns it to VLAN 10.
ostype l24 specifies the Linux kernel 2.4, ideal for older systems like Metasploitable 2.
Import the Disk Image
Import the Metasploitable.vmdk file into the new VM and convert it to the QCOW2 format for easy snapshots:
qm importdisk 1000 Metasploitable.vmdk local-lvm –format qcow2
Attach the Disk to the VM
Attach the imported disk to the VM and set it as the primary boot disk:
qm set 1000 –sata0 local-lvm:vm-1000-disk-0
qm set 1000 –boot=”order=sata0″
Clean Up
Once the VM setup is complete, clean up the temporary files:
cd /tmp
rm -rf ./metasploitable2
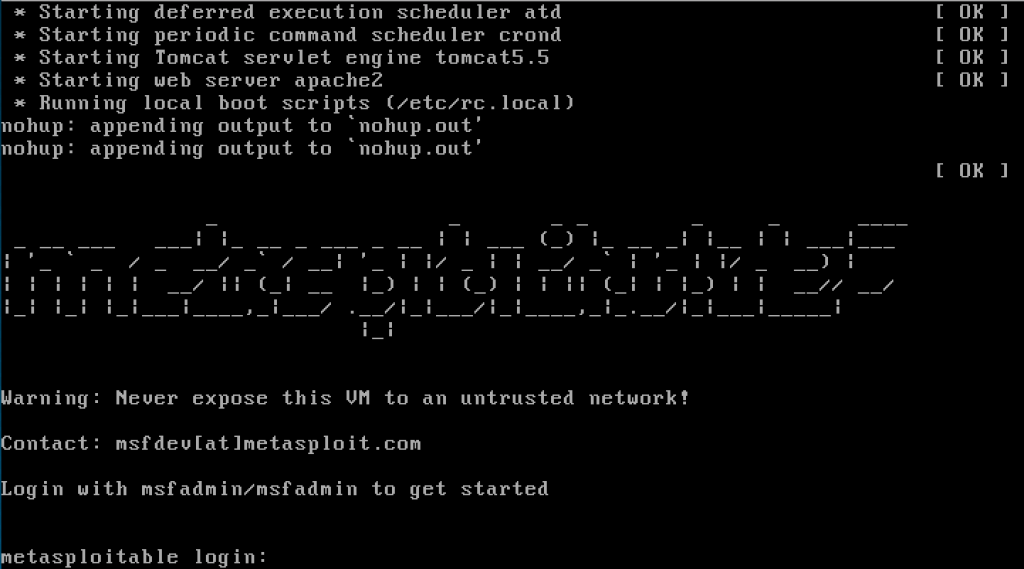
Boot the VM and Log In
After the VM is created, power it on, and log in using the default credentials:
Username: msfadmin
Password: msfadmin
To check if the VM has received an IP address, run the ifconfig command inside the VM:
ifconfig
You should see an IP address like 10.10.10.100.
Why Use Metasploitable 2?
Metasploitable 2 is a widely used training tool in the field of ethical hacking and cybersecurity education. It includes numerous pre-configured vulnerabilities that mimic real-world issues, making it ideal for learning how to detect, exploit, and mitigate security flaws. Some of the common areas it helps explore include:
Weak passwords
Open ports
Outdated software with known vulnerabilities
In my homelab, isolating Metasploitable 2 in VLAN 10 ensures these vulnerabilities are contained and won’t affect my production or learning environments.
Conclusion
With Metasploitable 2 now up and running in your Proxmox homelab, you can begin scanning, exploiting vulnerabilities, and learning ethical hacking techniques in a safe, isolated environment. I’ve set this VM on VLAN 10 to segregate it from the rest of my network, ensuring that the vulnerabilities within Metasploitable 2 don’t affect my other systems.

Leave a comment