In this tutorial, we’ll walk through setting up a basic switch configuration using Cisco Packet Tracer, a widely used network simulation tool. This guide is perfect for those starting out in network administration and who want to get hands-on experience configuring Cisco switches in a homelab environment.
Objectives
- Simulate a console connection to a switch.
- Configure basic switch settings (hostname, IP address, MOTD banner, passwords).
- Use commands to verify switch configurations.
Lab Setup
To begin, you’ll need Cisco Packet Tracer installed on your computer. Here’s a quick setup guide:
Devices:
- One Cisco 2960 switch
- One PC
- One console cable
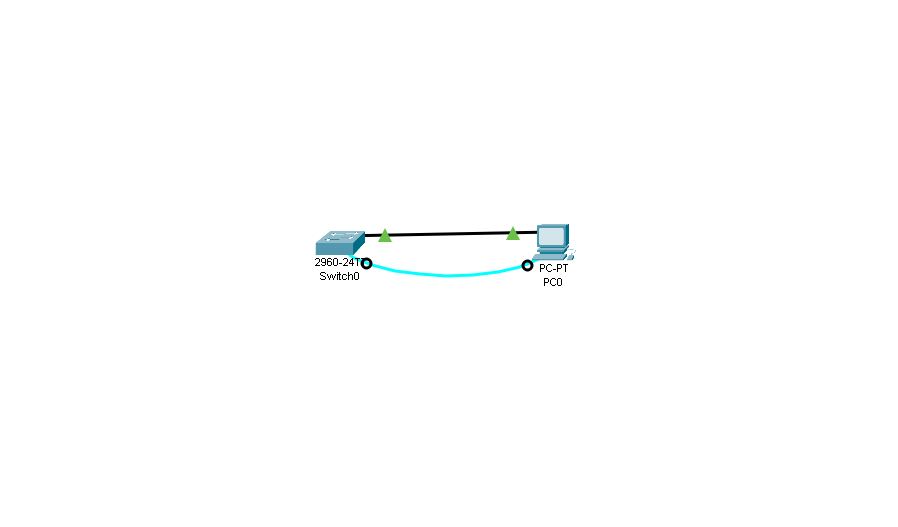
Step 1: Simulating the Console Connection
- Launch Packet Tracer and create a simple topology.
- Connect the PC to the switch using a console cable:
- Select the console cable in Packet Tracer.
- Connect one end to the RS-232 port on the PC and the other to the console port of the switch.
- Access the switch through the terminal:
- On the PC, go to the Desktop tab and open the Terminal application.
- Leave the default terminal settings (9600 Baud rate, 8 data bits, no parity, 1 stop bit).
Basic Switch Configuration
Once connected to the switch, you can start configuring it. Below are key commands and settings:
- Access privileged EXEC mode:
Switch> enable - Check the running configuration:
Switch# show running-config - Check the startup configuration (stored in NVRAM):
Switch# show startup-config - View Cisco IOS version information:
Switch# show version - View default VLAN settings:
Switch# show vlan - View flash memory:
Switch# show flash
Configure Basic Settings
Step 1: Hostname
Assign a hostname to the switch for easier identification:
Switch(config)# hostname Switch01
Step 2: Password Encryption
To secure access, configure password encryption:
Switch01(config)# service password-encryption
Step 3: Privileged EXEC Mode Password
Set a secure, encrypted password for privileged access:
Switch01(config)# enable secret class
Step 4: Disable DNS Lookups
Prevent unwanted DNS lookups that can slow down the switch:
Switch01(config)# no ip domain-lookup
Step 5: Configure MOTD Banner
Display a Message of the Day (MOTD) to inform users:
Switch01(config)# banner motd #
Unauthorized access is strictly prohibited. #
Step 6: Secure Console Port
Restrict access to the console port with a password and enable logging to prevent interruptions:
Switch01(config)# line con 0
Switch01(config-line)# password cisco
Switch01(config-line)# login
Switch01(config-line)# logging synchronous
Switch01(config-line)# exit
Configure VLAN and IP Address
By assigning an IP address to VLAN 1 (the default VLAN), you enable remote management of the switch.
- Assign an IP address to VLAN 1:
Switch01(config)# interface vlan 1 Switch01(config-if)# ip address 192.168.1.5 255.255.255.0 Switch01(config-if)# no shutdown - Configure the Default Gateway (important for remote management):
Switch(config)# ip default-gateway 192.168.1.1
Enable SSH for Remote Access
SSH is a more secure alternative to Telnet for remote switch management.
- Create a local user with administrative privileges:
Switch01(config)# username admin privilege 15 secret cisco - Set a domain name:
Switch01(config)# ip domain-name eastcharmer.com - Generate RSA keys for SSH encryption (use a key size of at least 1024 bits):
Switch01(config)# crypto key generate rsa - Enable SSH and configure VTY lines to accept SSH connections only:
Switch01(config)# ip ssh version 2 Switch01(config)# line vty 0 15 Switch01(config-line)# transport input ssh Switch01(config-line)# login local
Testing SSH Access
Once SSH is enabled, you can test the remote access from the PC:
- Open Command Prompt on the PC.
- Enter the following SSH command:
PC> ssh -l admin 192.168.1.5
Enter the password you configured for the user admin to gain access.
Verification Commands
Use the following commands to verify your switch configuration:
- Check the IP interface configuration:
Switch# show ip interface brief - Display the running configuration:
Switch# show run
By following this guide, you’ve set up and configured a Cisco switch for basic networking tasks. You’ve also learned how to secure your switch using SSH and password encryption, making your homelab more secure. Happy learning!
Resources:
- YouTube: East Charmer
- Website: www.eastcharmer.com

Leave a comment